Shopify Theme Dev Basics
June 2023
All code of this post is available at https://github.com/arthurstomp/shopity_theme_basics
The shopify theme development workflow may feel kinda weird at first. But once get hold of it you will enjoy how practical it is.
Where, in the Shopify store, the themes lives.

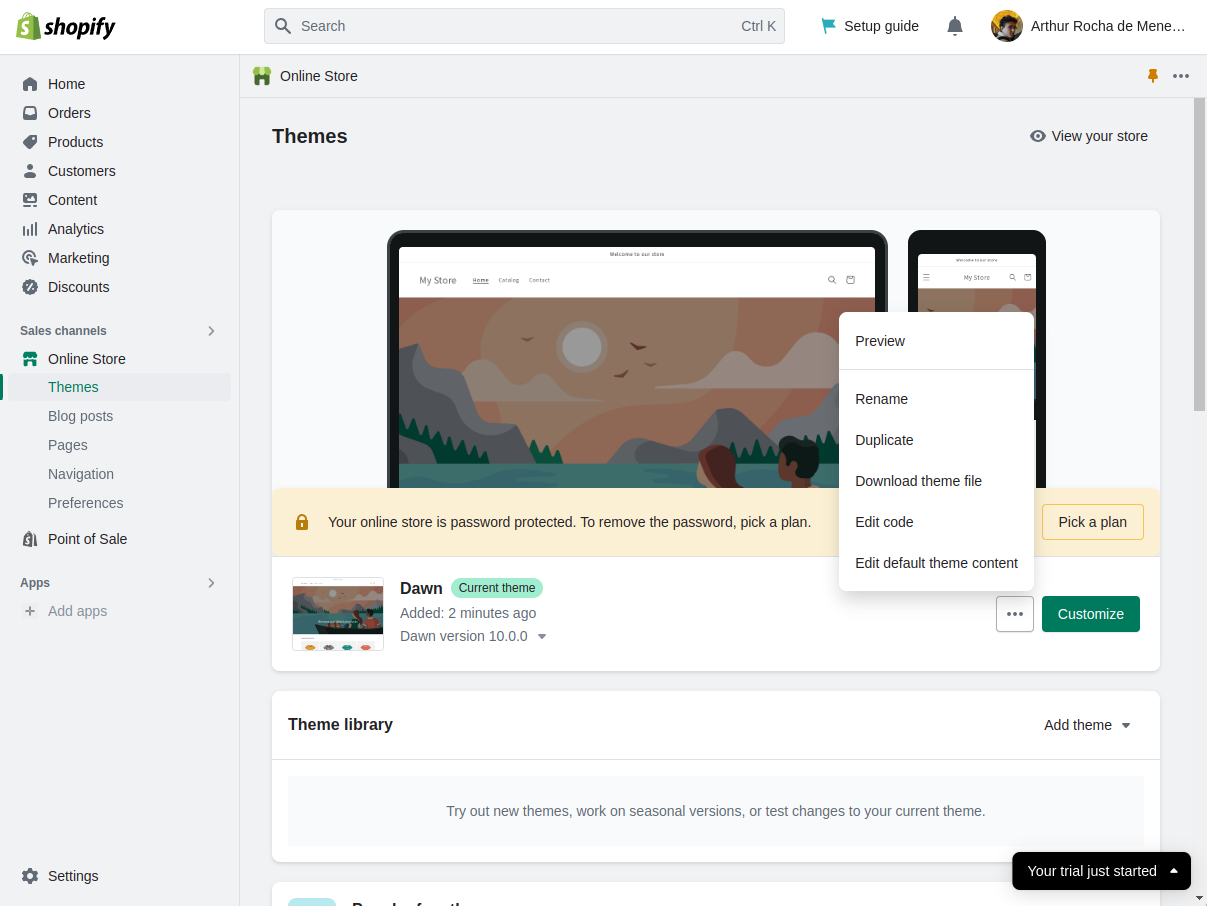
We will be fully customizing the theme. So it’s better to keep track of the code. Go on “Download theme file” and init git in it.
Running it “locally” - Shopify CLI
The entire shopify theme development workflow revolves around the Shopify CLI.
It will allow you to start the development server, create “unpublished themes” with their own preview and editor, lint the theme, etc.
To get started, go to the folder where you downloaded the “Theme files” and execute $ shopify theme dev --store="<your-store-subdomain>". This will prompt you to sign into the store. Once you sign in, the cli will start the local server with the local theme, sync your local files with a hidden online dev-theme, providing link for both the dev-theme online preview and editor.
By default, the sync of local -> online dev-theme is just one way, changes in local files are reflected to the online dev-theme.
If everything goes well you should be able to access you development theme at http://localhost:9292.
If you are working on the same store, once you sign-in to a store with
shopify theme dev, you can omit the--store. Otherwise you will need o execute$ shopify auth logoutand explicitly sign-in to the new store with$ shopify theme dev --store="<the other store subdomain>".
You can set theme:dev to sync both ways(local <-> online dev-theme) by using
--theme-editor-syncoption -$ shopify theme dev --theme-editor.
I, personally, don’t like to use the full sync. When i have changes done in the online editor i just execute
$ shopify theme pull -dto pull the changes from the online editor to your local files.
Folder structure
.
├── assets
├── config
├── layout
├── locales
├── sections
├── snippets
└── templates
A shopify theme is just a collection of templates that are made available to Shopify dashboard to assign to its products and pages.
Those templates are implemented as a group of sections, dynamic or static, and snippets.
Sections are the main component of building a template it define settings and blocks to be customized through the theme editor.
Snippets are just snippets, parts of code to be reused.
assets: Holdsjsandcssfiles to be referenced on layout, template and sections.config: Holds 2 important files:settings_data.jsonandsettings_schema.json.settings_schema.jsondefines the schema expected to be declared atsettings_data.json- See Settings Schema docs to understand its format, and Shopify documentation for more context.layout: Holds layout liquid files to be used ontemplatesschemas - See Shopify documentation for more context.locales: Holdsjsonfiles containing translation of editor components into a variaty of languages.sections: Holds sectionliquidfiles.snippets: Holds snippetsliquidfiles.templates: Holds templatesjsonandliquidfiles.
Creating a new page - Template
Shopify themes require some basic templates to be present. Those are the ones present at the dawn theme.
Templates names are important they define their use by shopify editor. Because of that, new custom templates need to have those names as prefix. For example, to have a custom product page for xmas create a new file call templates/product.xmas.json
See Shopify Template documentation for more information.
Once the file is created, and it complies to theme shopify template format, this new template will be available at you dev-theme editor.
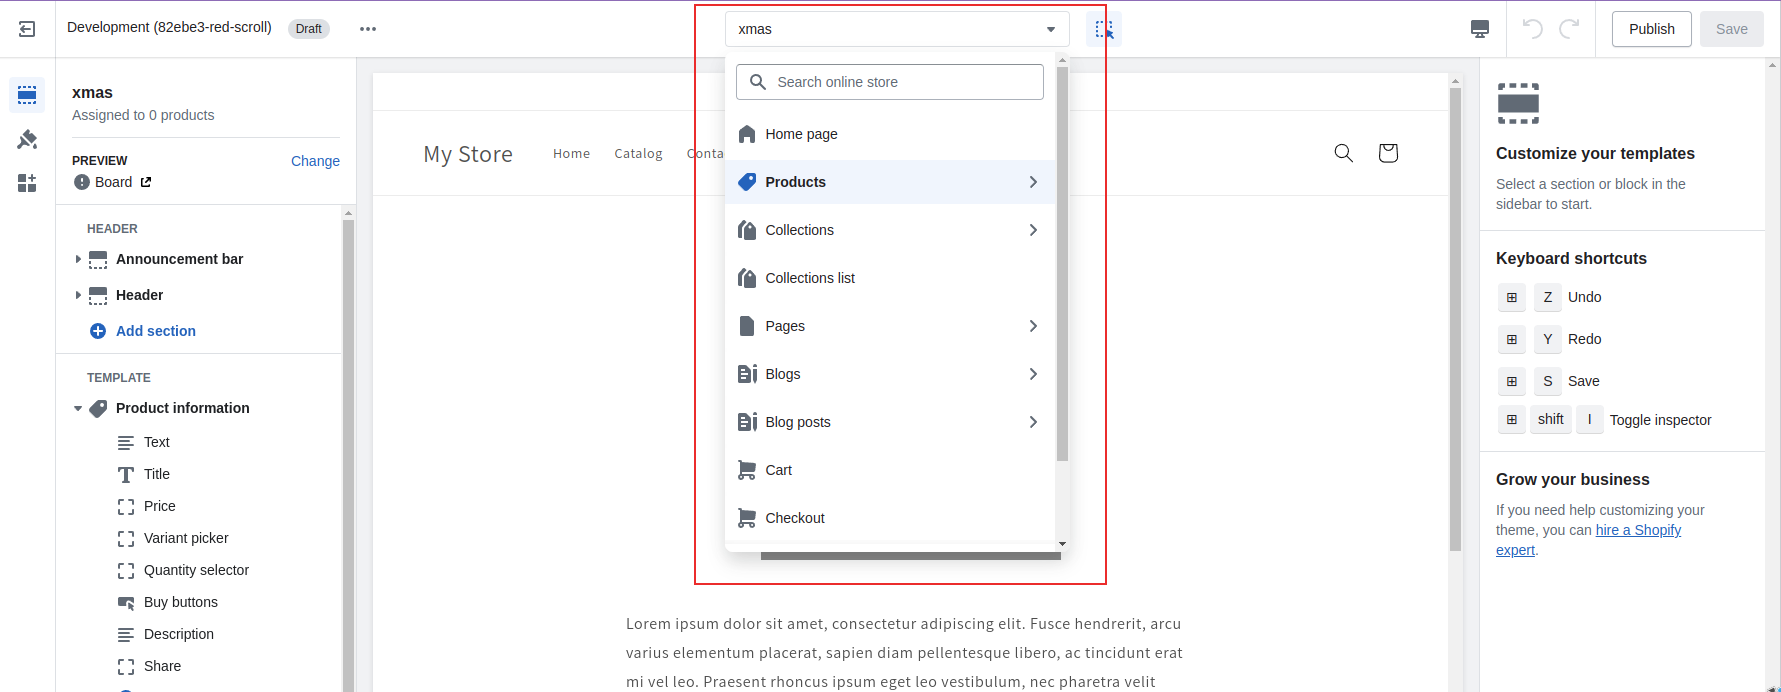
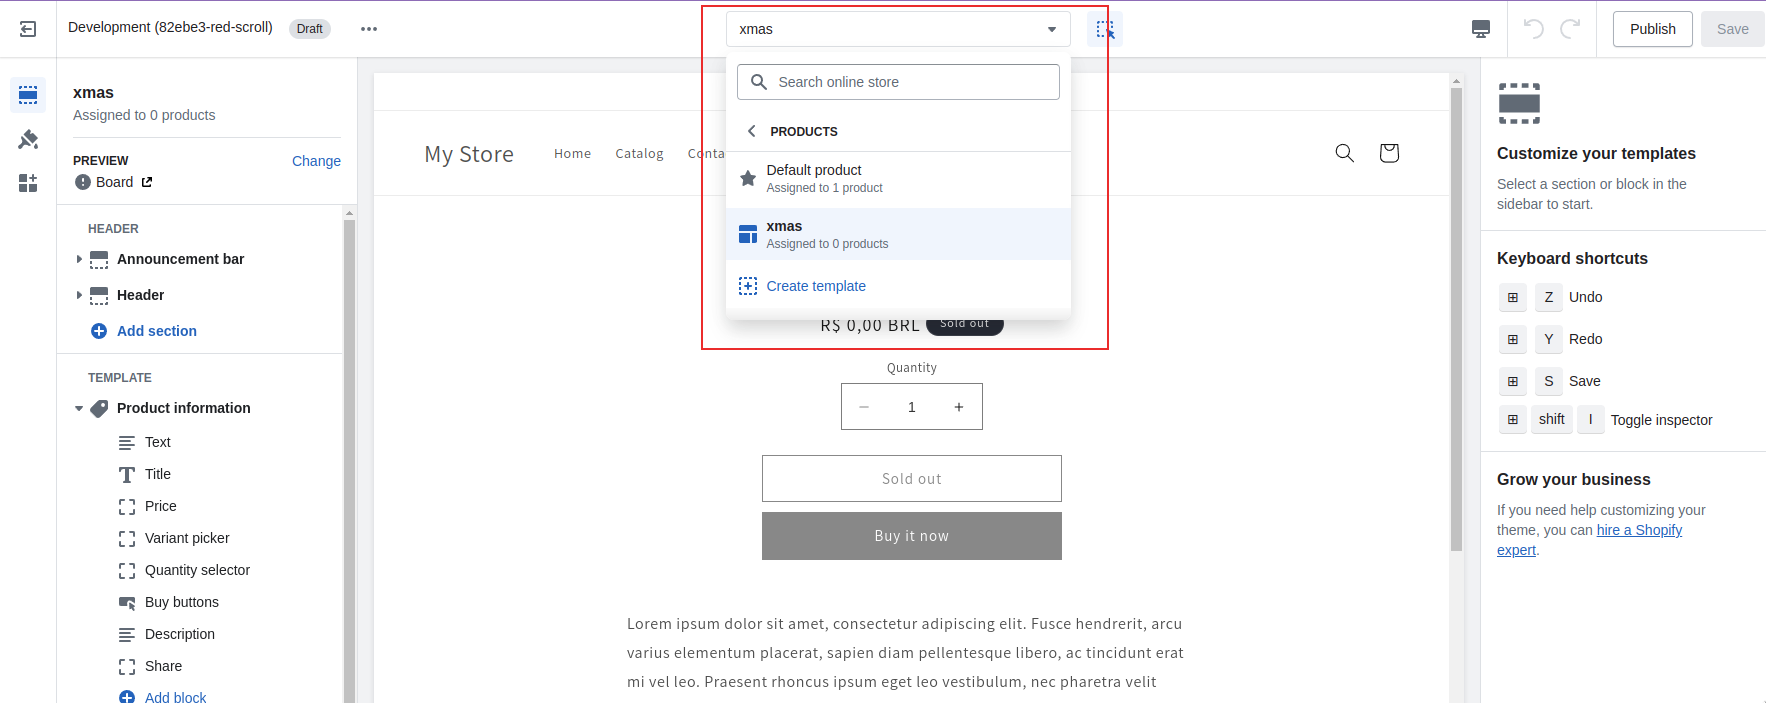
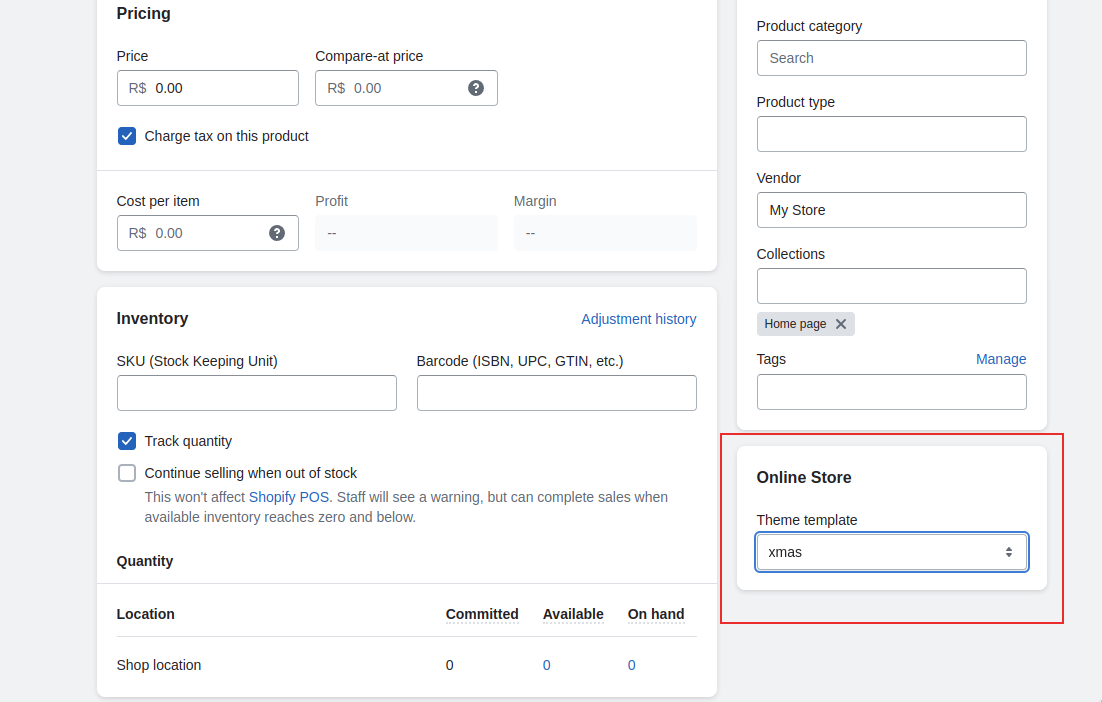
Once published the new template, in the case of product, will appear at the bottom of your product page allowing you to set the page of that product for the custom template.
Change in the editor pull to local
At this point product.xmas.json is no different from product.json. For a first customization, lets add a rich text section to it, edit its content and hit “save”.
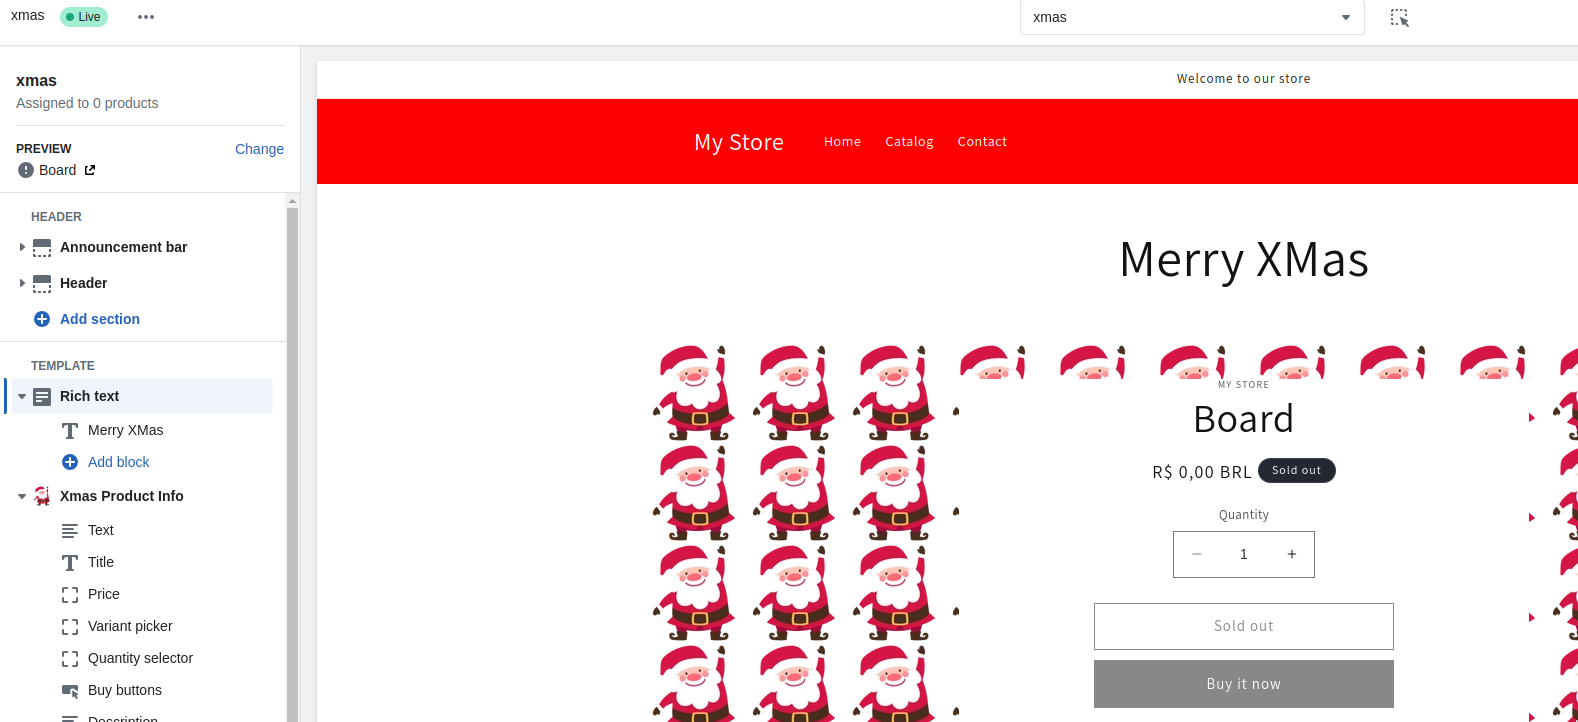
Once saved, bring those change to local environment by executing $ shopify theme pull -d.
New layout
JSON templates are basically the declaration of section settings and blocks, and their order. Those sections are rendered on the layout. So, to change the looks of our new product page, lets create a new layout for it.
Templates without an explicity layout default to
theme.liquid.
To keep everything consistent, lets just copy theme.liquid into xmas.liquid. That will keep theme setting working.
After that, set the product.xmas.json layout to xmas.
{
  "layout": "xmas",
  "sections": {
    "main": {
      "type": "main-product",
      "blocks": {
        "vendor": {
          "type": "text",
          "settings": {
            "text": "",
            "text_style": "uppercase"
          }
        },
    ...
}
To add some style change, and keep everything organized, lets create assets/xmas.css and reference it at the bottom of xmas.liquid <head>
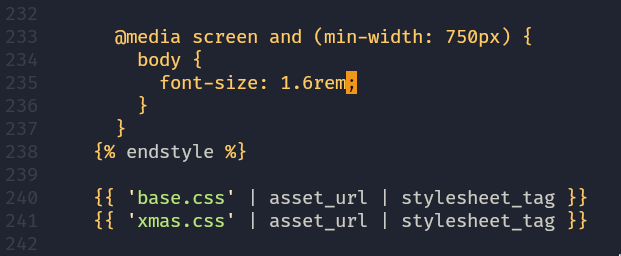
assets/xmas.css
.header-wrapper {
  background-color: red;
}

.header__heading-link:hover .h2 {
  color: lightgray;
}

.header__heading-link .h2 {
  color: white;
}

.header__icon {
  color: white;
}

.header__menu-item {
  color: white;
}

.header__menu-item:hover {
  color: lightgray;
}
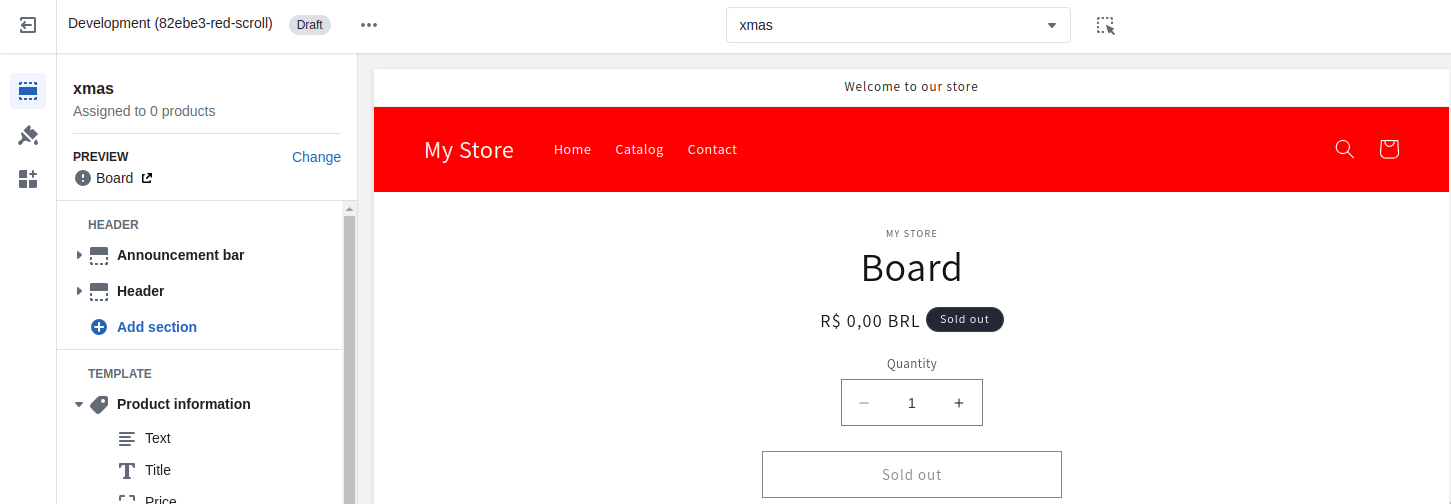
Customizable image on Product Info section
Copy sections/main-product.liquid into sections/xmas-product.liquid.
Change its schema.name and schame.presets.name to Xmas Product info.
{
  "name": "Xmas Product Info",
  "tag": "section",
  "class": "section",
  "blocks": [
    ...
  ],
  "settings": [
    ...,
    {
      "type": "image_picker",
      "id": "sides_background_image",
      "label": "Sides Background Image"
    }
  ],
  "presets": [
    {
      "name": "Xmas Product Info"
    }
  ]
}
Sections without a
presetswill not appear on the editor
This new section will appear as available on the “+ Add Section” menu with the name of “Xmas Product Info”.
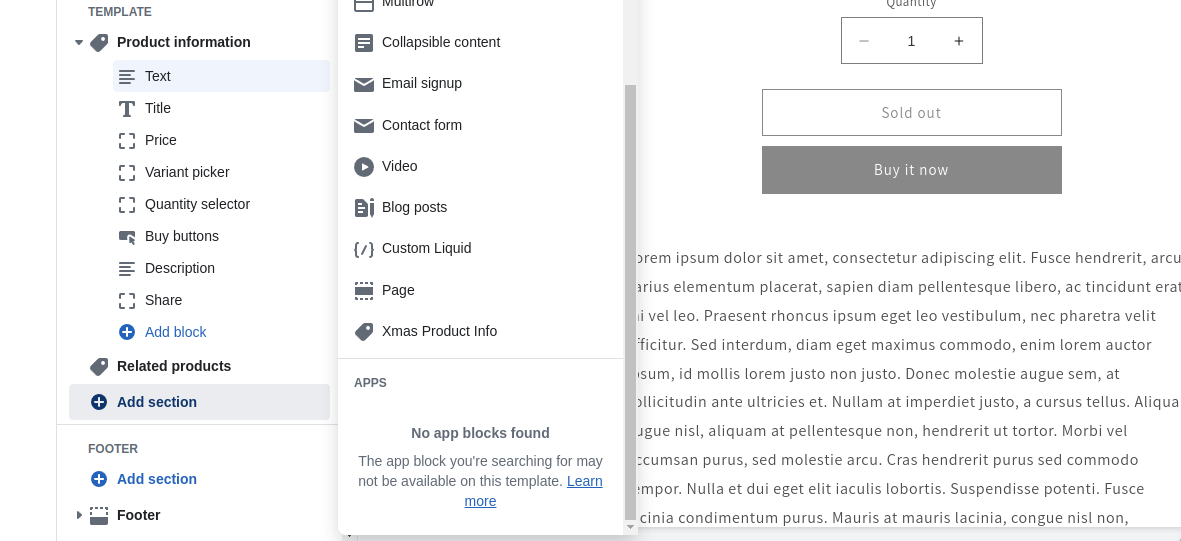
You can replace the “main-product” by “xmas-product” on the editor and pull the changes. Or just update the templates/product.xmas.json changing "type": "main-product", by "type": "xmas-product",.
Note on the right side, while highlighting “Xmas Product Info” section, that there is a new setting on it, “Sides background image”. That is the input for \{\{sections.settings.sides_background_image\}\} object. We will be using it to customize the section.
xmas-product.liquid
\{\% style \%\}
.xmas-background-img-- {
  background: url("");
}

.xmas-background-img-- .product {
  background: white;
}
\{\% endstyle \%\}
<section
  id="MainProduct-\{\{ section.id \}\}"
  class="page-width section-\{\{ section.id \}\}-padding xmas-background-img--\{\{ section.id \}\}">
  ...
</section>
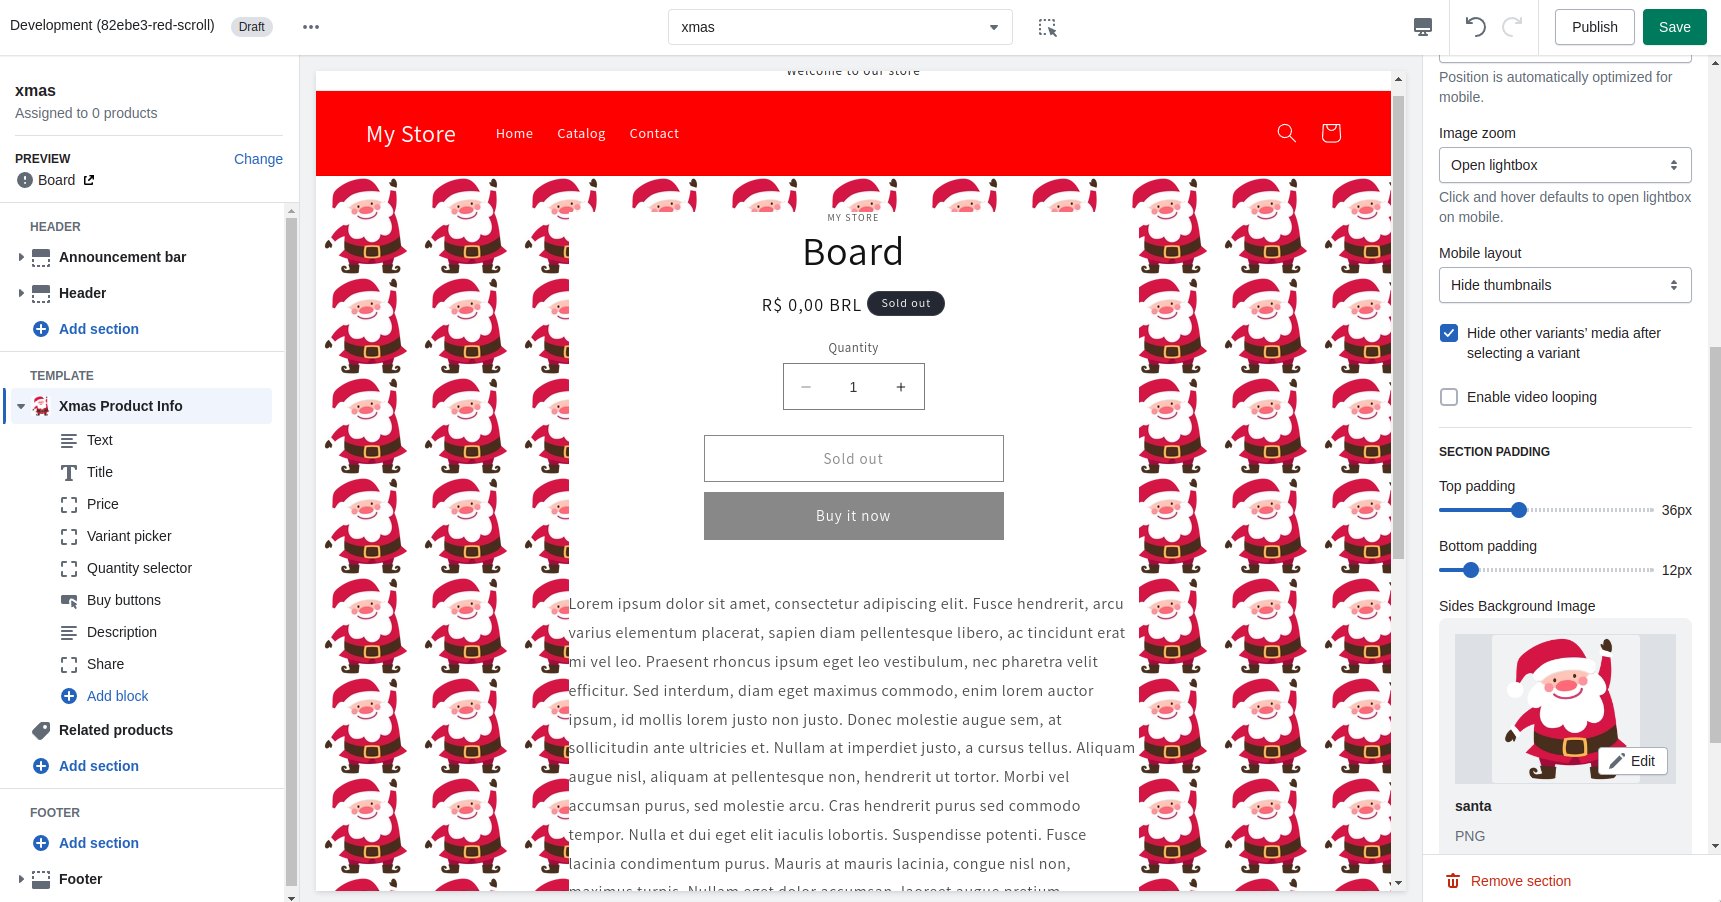
Gathering Feedback
Shopify theme infrastructure is very helpful for gathering feedback of stackholders. To have and online preview of changes on a theme without using your online theme preview you can push a theme to the shopify so other users can preview it, customize it; and at the end publish it.
To push the current state of the theme, execute $ shopify theme push -u --store="<your-shopify-store-id>" --theme="<new-theme-name>".
-uoption will create a new theme on the theme library. After the first push on a--themeyou can omit the-uoption.
